
I decided I needed to make some napkins. Because I love fabric, I also have quite an affection for cloth napkins. I think we should use them everyday.....so I think we need several. I had been doing a little Pinterest searching and watching some how to videos on you tube and I had a little time - so off to napkin making I went.
I decided to do this pretty pink polka dot as a single layer hemmed napkin.

Then I decided to do this black and white gingham napkin lined with this pretty green.

First step - wash all the fabric and iron it.....ugghhh I will admit this is my LEAST favorite step. But hey I don't want to waste all this time cutting and sewing something only for it to do some weird shrinkage in the wash and ruin the whole thing. So I washed and I pressed and then I took a break until the next day.
The next day I did all my cutting and prepping and then I took a break until the next day because truthfully I just want to sew.....all this upfront work is not my jam.
Finally it was time to sew.......here are the steps following the dreaded washing and pressing
For the single layer napkin. I cut ten 20x20 inch squares. Then I pressed each side about 1/4 inch fold then folded it again to completely cover the raw edges

I ended up doing these as just a single layer napkin because the underside of the fabric is not that drastically different from the front side, so I thought it would work. I whipped out 10 of these in less than an hour.

I cut the black and white gingham into 21 inch squares.

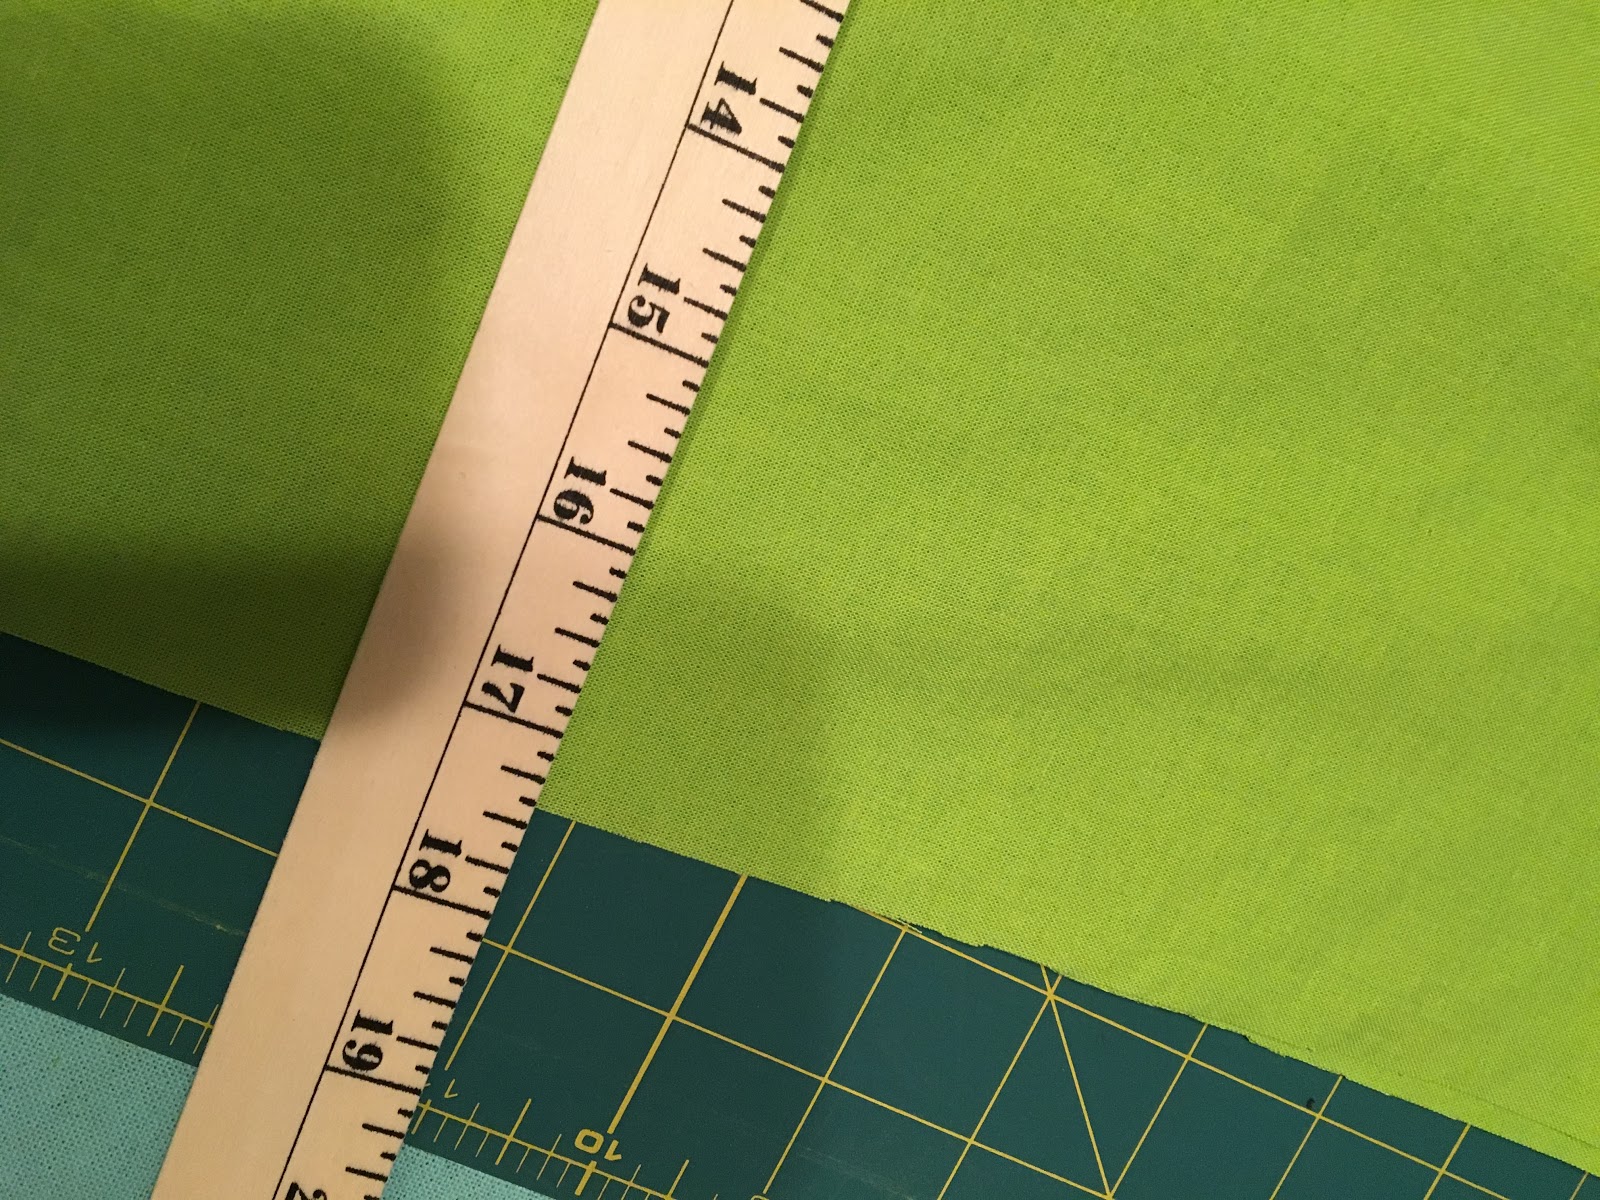
I cut the green fabric into 17.5 inch squares
Then I worked on mitering the corners of the gingham. First I ironed the raw edges under about a quarter of an inch and then folded them over once more about an inch and ironed that turn down

Next I measured the resulting boarder I had created by ironing.

Next I opened the folds up on each corner and measured down each side and marked the spot with a little fabric pencil

Then I took a ruler and connected the two dots

I folded the fabric matching the dots and creating a line on which I could sew

And that is exactly what I did - sewed right across that line

Then I trimmed the corner about 1/4 of inch from that stitch line

Simply invert the corner and watch the pretty boarder appear. Here's a close up of one of the corners


Then I took my solid fabric and tucked it right into this

Pin it together and then sew around the inner edge of the gingham securing the solid in place

I made 8 of these lined napkins

And thought they turned out really cute.
The lined napkin maybe took about an hour and 15 minutes.
I have a feeling there is more napkin sewing in my future. What a fun way to get to buy fabric ......and for such a practical purpose.
Of course you can find lots of napkin ideas on Pinterest and YouTube has tons of videos that take you step by step......or meet me at the fabric store and let's have a sewing party!!!
Talk to you on Friday!!!
No comments:
Post a Comment